If you notice a blinking status light on your Genie garage door opener, you could be dealing with a range of issues. This could be due to a simple programming error in a malfunctioning sensor.
In this guide, we will talk about some common causes of a blinking status light and provide step-by-step instructions on how to fix them.
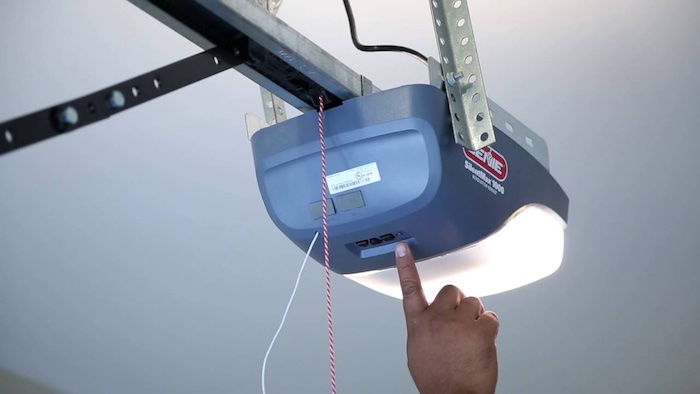
Genie Garage Door Opener Status Light Blinking: DIY Fixes
Step 1: Check the Safety Sensors
When it comes to fixing the blinking status light, the first thing to consider is to check the safety sensors. These sensors are located at the bottom of the garage door opener. The sensors are designed to detect when something is blocking the door from closing. If the sensors are not aligned properly or are obstructed, the status light will blink.
To check the sensors, follow these steps:
- You will find the sensors at the bottom of the garage door opener. They are usually small, round units with a red and a green light.
- Make sure the sensors are aligned with each other and pointing in the same direction.
- Check for any obstructions in front of the sensors, such as debris or cobwebs.
- Press the test button on the sensor to ensure that the red and green lights are working properly.
- If the sensors are properly aligned and there are no obstructions, the status light should stop blinking.
Step 2: Check the Remote Control
Another common cause of a blinking status light is a problem with the remote control. The remote control is used to open and close the garage door, and if it is not working properly, the status light will blink.
To check the remote control, follow the steps below:
- Make sure the batteries in the remote control are fresh and inserted correctly.
- Press the remote control button to see if the garage door opens or closes.
- If the remote control is not working, try programming it again by following the instructions in the owner’s manual.
Step 3: Check the Wall Control
The wall control, also known as the wall station, is the button that is located inside the garage and is used to open and close the garage door. If the wall control is not working properly, the status light will blink.
Follow these steps to check the wall control:
- Make sure the wall control is properly wired and connected to the garage door opener.
- Press the wall control button to see if the garage door opens or closes.
- If the wall control is not working, try replacing the batteries or checking the wiring.
Step 4: Check the Limit Switch
The limit switch tells the garage door opener when the door is fully open or closed. If the limit switch is not working properly, the status light will blink.
To check the limit switch, follow these steps:
- Using the user manual, locate the limit switch on the garage door opener. It is usually a small, rectangular unit with a lever or button.
- Press the lever or button on the limit switch to see if the garage door opens or closes.
- If the limit switch is not working, try adjusting it or replacing it.
Step 5: Check the Motor Unit
The motor unit is the heart of the garage door opener and is responsible for lifting and lowering the garage door. If the motor unit is not working properly, the status light will blink.
To check the motor unit for fault or damage, follow these steps:
- Get to the motor unit on the garage door opener. It is usually a large, rectangular unit with a fan and a circuit board.
- Check for any visible damage or wear on the motor unit, such as cracks or loose wires.
- Check the fan to see if it is running properly. If the fan is not running or is making noise, the motor unit may need to be replaced.
- If the motor unit appears to be working properly, try resetting the garage door opener by unplugging it for 30 seconds and then plugging it back in.
Step 6: Check the Power Supply
A lack of power can also cause the status light to blink.
To confirm that you have adequate power supply, follow these steps:
- Check the circuit breaker to see if it has tripped or if a fuse has blown.
- Check the outlet where the garage door opener is plugged in to see if there is power.
- If the outlet is not working, check for a tripped GFCI (ground fault circuit interrupter) or a blown fuse in the main electrical panel.
- If none of these steps resolve the problem, it may be necessary to call in a professional to diagnose and repair any issues with the power supply.
Step 7: Contact the Manufacturer
If none of the above steps resolve the problem, it may be necessary to contact the manufacturer for further assistance. They may be able to provide additional troubleshooting steps or technical support. In some cases, the problem may require a repair or replacement part that can only be obtained through the manufacturer.
It is also important to check if the warranty on your garage door opener is still valid. If it is still under warranty, the manufacturer may be able to provide free repairs or replacement parts.
Wrapping Up
A blinking status light on your Genie garage door opener can be a frustrating issue, but with the right troubleshooting steps, it can usually be resolved quickly and easily.
By following the steps outlined in this guide, you should be able to fix the problem and get your garage door opener working properly again.
You might also want to reach out to a professional to take a look at the device if you’re not tech-savvy, so you don’t end up making things worse. If the problem persists, it is recommended that you contact the manufacturer for further assistance.


