If you notice the yellow light blinking on your LiftMaster garage door opener, there are a variety of reasons for this, including problems with the safety sensors, the remote control, or the opener itself.
In this guide, we have provided the causes and fixes to this problem.
Liftmaster Yellow Light Blinking: Likely Causes
1. Safety Sensors
The most common cause of a yellow light blinking on a LiftMaster opener is a problem with the safety sensors. These sensors are located at the bottom of each garage door track and use infrared beams to detect if anything is blocking the door from closing. If the sensors are not properly aligned or are dirty, the opener will not function.
2. Remote Control
Another common cause of a yellow light blinking on a LiftMaster opener is a problem with the remote control. This can include a dead battery, a lost remote control, or a programming issue.
3. Opener Issues
In some cases, the yellow light blinking on a LiftMaster opener may be caused by a problem with the opener itself. This can include a malfunctioning circuit board, a broken gear, or a malfunctioning motor.
4. Power Outage
A power outage can cause a yellow light to blink on a LiftMaster opener. This is because the opener’s circuit board is designed to detect a power loss and will blink the yellow light as a warning.
5. Limit Switch
The limit switch is responsible for telling the opener when the door has reached its full open or closed position. If the limit switch is out of adjustment or malfunctioning, the opener will not be able to properly detect the door’s position and the yellow light will blink.
6. Wiring Problems
Damaged or disconnected wiring can also cause a yellow light to blink on a LiftMaster opener. This can occur due to physical damage, corrosion, or poor installation.
To fix this issue, check the wiring and connectors and repair or replace any damaged components.
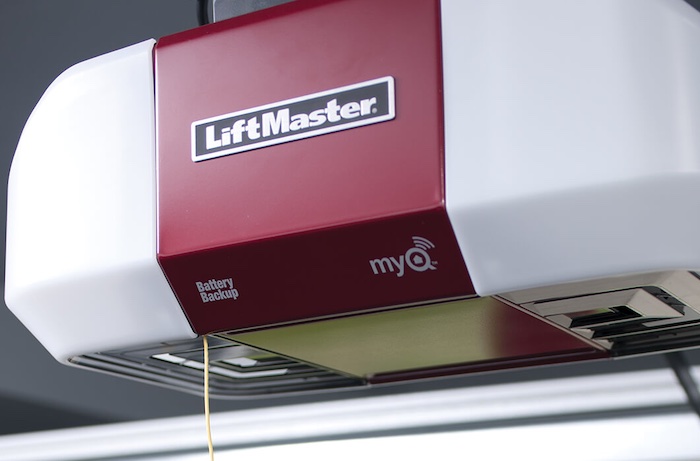
7. Battery Backup Issues
If your LiftMaster opener is equipped with a battery backup, the yellow light can blink if the battery is low or not functioning properly.
Liftmaster Yellow Light Blinking: DIY Fixes
1. Safety Sensors Alignment and Cleaning
Locate the safety sensors: The safety sensors can be found at the bottom of each garage door track. They have a small red light that should be illuminated when the opener is in use.
Check the alignment: The sensors should be pointing directly at each other and should be no more than 6 inches apart. If the sensors are not properly aligned, use the manual provided by the manufacturer to adjust them.
Clean the sensors: Use a dry cloth or compressed air to remove any dirt or debris from the sensors. Be sure to avoid using water or other liquids as this can damage the sensors.
Test the opener: Once the sensors have been cleaned and aligned, test the opener to ensure that it is functioning properly. If the yellow light continues to blink, there may be another issue that needs to be addressed.
2. Remote Control Check
Check the battery: The first step in fixing this issue is to check the battery in the remote control. Replace the battery if necessary.
Find the remote control: Make sure that the remote control is not lost.
Reprogram the opener: If the remote control is lost or not functioning properly, you will need to reprogram the opener to work with an existing remote control or purchase a new one. Consult the manual provided by the manufacturer for instructions on how to reprogram the opener.
Test the opener: Once the remote control has been reprogrammed or replaced, test the opener to ensure that it is functioning properly. If the yellow light continues to blink, there may be another issue that needs to be addressed.
3. Opener Check and Fix
Identify the issue: Try to identify the issue by observing the opener’s behavior, for example, the noise it makes or if it is unable to open or close the door.
Contact a professional: If you are unable to identify the issue or unable to fix it, contact a professional technician for help. They will diagnose the problem and recommend the appropriate course of action.
Replace or repair parts: If the technician identifies a specific part that needs to be replaced or repaired, make sure to use original replacement parts from the manufacturer, this ensures that the opener will continue to function safely and properly.
Test the opener: Once the repairs have been made, test the opener to ensure that it is functioning properly. If the yellow light continues to blink, there may be another issue that needs to be addressed.
4. Power Outage Fix
Check the circuit breaker: Check the circuit breaker that supplies power to the opener, if it is tripped, switch it back on.
Check the fuses: If the circuit breaker is not the issue, check the fuses in the opener’s electrical panel. If a fuse is blown, replace it with a new one of the same rating.
Test the opener: Once power has been restored, test the opener to ensure that it is functioning properly. If the yellow light continues to blink, there may be another issue that needs to be addressed.
5. Limit Switch Fix
Locate the limit switch: The limit switch is typically located on the opener’s motor unit. Consult the manual provided by the manufacturer for its specific location.
Adjust the limit switch: The limit switch may be out of adjustment, use the manual provided by the manufacturer to adjust it to the correct position.
Test the opener: Once the limit switch has been adjusted, test the opener to ensure that it is functioning properly. If the yellow light continues to blink, the limit switch may need to be replaced.
Replace the limit switch: If the limit switch needs to be replaced, make sure to use original replacement parts from the manufacturer, this ensures that the opener will continue to function safely and properly.
6. Wiring Check and Fix
Inspect the wiring: Inspect the wiring for any physical damage, corrosion, or loose connections.
Repair or replace damaged wiring: If any damage is found, repair or replace the damaged wiring.
Test the opener: Once the wiring has been repaired or replaced, test the opener to ensure that it is functioning properly. If the yellow light continues to blink, there may be another issue that needs to be addressed.
7. Battery Backup Inspection and Fix
Check the battery: Check the battery level of the opener, if it is low, replace it with a new one.
Test the opener: Once the battery has been replaced, test the opener to ensure that it is functioning properly. If the yellow light continues to blink, there may be another issue that needs to be addressed.
It’s important to keep in mind that some of the above steps may require professional assistance, and in cases where you are unsure or unable to fix the issue, it is always better to consult a professional technician for help.


![Genie Garage Door Opener Status Light Blinking [FIXED]](https://techevery.net/wp-content/uploads/2023/01/genie-garage-door-opener-status-light-blinking-211x150.jpg "Genie Garage Door Opener Status Light Blinking [FIXED]")
