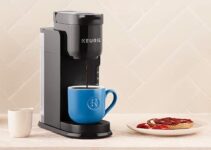
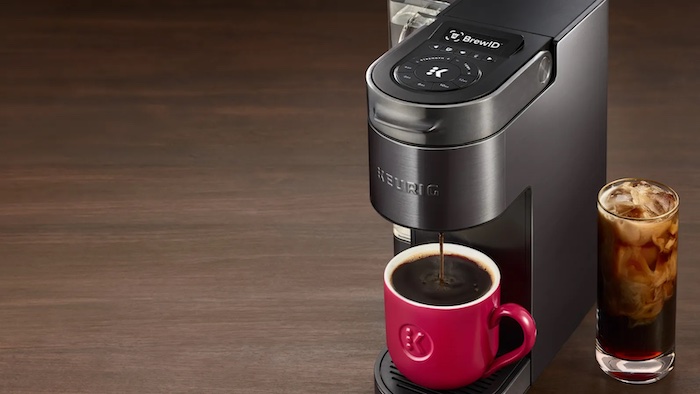
A Keurig coffee maker is a reliable option for DIY enthusiasts that prefer to brew their coffee at home. While it comes with a lot of impressive features, it does have a few issues every now and then.
One of the most common issues is when the machine stops brewing after only a few seconds. This problem can have a variety of causes, but there are also several solutions that can help fix the issue.
In this article, we have provided some of the most common causes of this issue and the right fixes to apply.
Keurig Stops Brewing after a Few Seconds: Likely Causes
Clogged needle: With continuous use, the needle that punctures the K-Cup can become clogged with coffee grounds or mineral buildup, preventing water from flowing through the K-Cup and into the cup.
Water tank not filled: The water tank must be filled with fresh water before brewing. If the tank is empty or low on water, the machine will not be able to brew a full cup of coffee.
K-Cup not properly inserted: The K-Cup must be inserted into the machine correctly, with the label facing outward. If the K-Cup is inserted upside down or at an angle, it may not puncture properly and the water will not flow through.
Scale buildup: Scale, a mineral buildup, can clog the water lines and inhibit the flow of water.
Water filter needs replacing: If you are using a water filter, it may need to be replaced.
How to Fix a Keurig That Stops Brewing after a Few Seconds
1. Clean the needle
The needle is located within the K-Cup holder and is responsible for puncturing the top of the K-Cup to allow water to flow through and brew the coffee. Over time, the needle can become clogged with coffee grounds or mineral buildup, preventing water from flowing through the K-Cup and into the cup.
To clean the needle,
- Use a paperclip or a needle-cleaning tool to remove any coffee grounds or mineral buildup.
- Firstly, remove the K-Cup holder from the machine.
- Use a paperclip or needle cleaning tool to clear away any debris from the needle.
- Make sure the needle is clear and free from any blockages, then reinsert the K-Cup holder.
Filling the water tank
- Remove the water tank from the back of the machine and fill it with fresh water.
- Reattach the tank to the machine and ensure it is securely in place before brewing a cup of coffee.
2. Insert the K-Cup correctly
- Ensure the K-Cup is inserted with the label facing outwards and seated properly in the K-Cup holder.
3. Descale your Keurig
If your machine has a descaling option, use it to remove any buildup. Otherwise, you can use a descaling solution or white vinegar to clean the lines. To descale the machine with a solution, follow the instructions on the packaging.
To descale the machine with white vinegar,
- Fill the water tank with equal parts water and white vinegar,
- Run the brew cycle without a K-Cup in place
- Repeat the process with fresh water to rinse the machine.
4. Replace the water filter
If you are using a water filter, it may need to be replaced.
- Replace the water filter if it has been in use for more than two months.
- Follow the instruction manual for the replacement process, which usually involves removing the old filter and inserting a new one in its place.
How to Maintain a Keurig Coffee Maker
Just like any appliance, the Keurig coffee maker requires regular maintenance to ensure optimal performance and longevity. This guide will cover the steps you should take to properly maintain your Keurig coffee maker.
Daily Maintenance
- Empty the Drip Tray and Drip Plate: The drip tray and drip plate should be emptied and cleaned after each use to prevent mold and bacteria from growing.
- Clean the K-Cup holder: After each use, wipe the K-Cup holder with a damp cloth to remove any coffee grounds or debris.
- Clean the exterior: Wipe the exterior of the machine with a damp cloth to remove any coffee stains or spills.
Weekly Maintenance
- Descale the machine: Scale can clog the water lines and inhibit the flow of water. To descale the machine, fill the water tank with equal parts water and white vinegar, run the brew cycle without a K-Cup in place, and then repeat the process with fresh water to rinse the machine.
- Clean the water tank: The water tank should be cleaned once a week to remove any mineral buildup or bacteria. To clean the tank, fill it with a solution of equal parts water and white vinegar, let it sit for 30 minutes, then rinse it with fresh water.
- Replace the water filter: If you are using a water filter, it should be replaced every 2 months.
Monthly Maintenance
- Clean the needle: The needle should be cleaned once a month to remove any coffee grounds or mineral buildup. To clean the needle, use a paperclip or a needle-cleaning tool to remove any debris.
Yearly Maintenance
Deep clean the machine: Once a year, the machine should be deep cleaned to remove any buildup or bacteria. To deep clean the machine, fill the water tank with a solution of equal parts water and white vinegar, run the brew cycle without a K-Cup in place, then run the brew cycle with fresh water to rinse the machine.
Maintaining a Keurig coffee maker is essential for optimal performance and longevity. By following the daily, weekly, monthly, and yearly maintenance steps outlined in this guide, you can ensure your Keurig coffee maker continues to brew delicious coffee for years to come.
Wrapping Up
The issue of the Keurig coffee maker that stops brewing after a few seconds is not a serious problem and can happen due to several reasons. By following these steps, you should be able to solve the problem of your Keurig stopping brewing after a few seconds. If the problem persists, it may be best to contact the manufacturer for further assistance.
