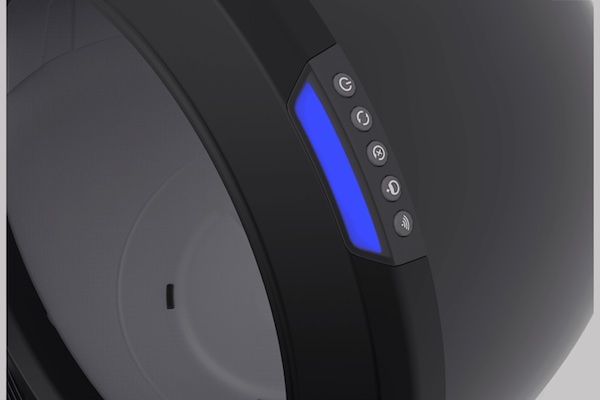
The Litter Robot comes with several indicator features designed to alert you if there is anything amiss in the operation of the robot.
One of such indicator features is the blue light on the device that blinks. If you notice the blinking blue light is blinking on your Litter Robot, read through this guide to learn the causes and the appropriate fixes to apply.
Litter Robot Blinking Blue Light: Likely Causes
Full waste drawer
The Litter Robot is equipped with a waste drawer that collects the waste separated by the sifting process. If the drawer is full, the blinking blue light will activate. To fix this issue, simply empty the waste drawer and reset the unit by unplugging it for 10 seconds.
Sensor issue
If the blinking blue light appears even after the waste drawer has been emptied, it could be a sign of a sensor issue. The Litter Robot has several sensors that detect the presence of waste and litter, as well as the position of the globe.
If one of these sensors is malfunctioning, the blinking blue light will activate. To fix this issue, check the sensor ports for debris and ensure they are properly connected. If the issue persists, contact Litter Robot customer support for further assistance.
Power failure
In the event of a power failure, the Litter Robot will automatically enter standby mode and the blue light will blink. To fix this issue, simply plug the unit back in and wait for it to power on.
Firmware Update
If the blinking blue light appears during a firmware update, it’s normal behavior. Wait for the firmware update to complete and then unplug the unit for 10 seconds before plugging it back in.
Litter Robot Blinking Blue Light: DIY Fixes
Fix 1: Empty the waste drawer
If the blinking blue light is caused by a full waste drawer, the fix is simple: empty the drawer and reset the unit. The waste drawer is located at the bottom of the Litter Robot, and it collects the waste separated by the sifting process.
To empty the drawer,
- Simply open the door located at the bottom of the unit and remove the drawer.
- Empty the contents of the drawer into a plastic bag and dispose of it properly.
- Once the drawer is empty, place it back in the unit and close the door.
- Finally, reset the unit by unplugging it for 10 seconds, then plug it back in.
Fix 2: Check sensor ports and connections
In the case that the blinking blue light is caused by a sensor issue, check the sensor ports for debris and ensure they are properly connected. The sensors are located on the base of the unit and at the top of the globe.
To check the sensor ports,
- First, unplug the unit and then use a dry, soft cloth to wipe any debris or dust from the sensor ports.
- Then, check that the sensor ports are properly connected by ensuring that the connectors are securely seated in the ports.
- If the issue persists, contact Litter Robot customer support for further assistance.
Fix 3: Power on the unit
If the blinking blue light is caused by a power failure, simply plug the unit back in and wait for it to power on. In the event of a power failure, the Litter Robot will automatically enter standby mode and the blue light will blink. To power on the unit, simply plug it back into a working electrical outlet and wait for the unit to power on. The unit will go through a self-check process when it powers on, and the blue light will stop blinking once the unit is ready for use.
Fix 4: Wait for the firmware update
If the blinking blue light is caused by a firmware update, wait for the firmware update to complete and then unplug the unit for 10 seconds before plugging it back in. Firmware updates are done to improve the performance and security of the Litter Robot. During the update process, the blue light will blink, and it is normal behavior.
Once the firmware update is complete, the unit will automatically restart, and the blue light will stop blinking. After the restart, unplug the unit for 10 seconds and then plug it back in to complete the update process.
How to Maintain the Litter Robot
Maintaining the Litter Robot is relatively simple and straightforward. Here are the steps you should follow to ensure that your Litter Robot is functioning properly:
Empty the waste drawer: The Litter Robot automatically separates the waste from the clean litter, but you will need to empty the waste drawer every few days to keep the unit functioning properly.
Clean the globe: Every 7-10 days, remove the globe from the base and clean it with mild detergent and warm water. Make sure to rinse it thoroughly and dry it before replacing it.
Clean the sensors: Clean the infrared sensors located at the front of the Litter Robot with a dry cloth or compressed air to ensure that they are functioning properly.
Check the carbon filter: Check the carbon filter in the waste drawer and replace it every 3-6 months, depending on usage.
Check the litter: Make sure to use the recommended litter for the Litter Robot and replace it when it appears dirty or clumpy.
Check the power cord: Ensure that the power cord is properly connected and not frayed.
Check the cycle time: The Litter Robot is set to automatically cycle every 7 minutes by default, but you can adjust this time to suit your needs.
Conclusion
The Litter Robot is mostly reliable, but like any electronic device, it can experience issues. If the unit’s blinking blue light is activated, the cause is likely one of the four issues listed above.
By trying the corresponding fixes, you should be able to resolve the issue and get your Litter-Robot back to normal operation. If the issue persists, please contact Litter Robot customer support for further assistance.


